Step-by-Step Guide: Submitting Your NALCO Non-Executive Application for 2026
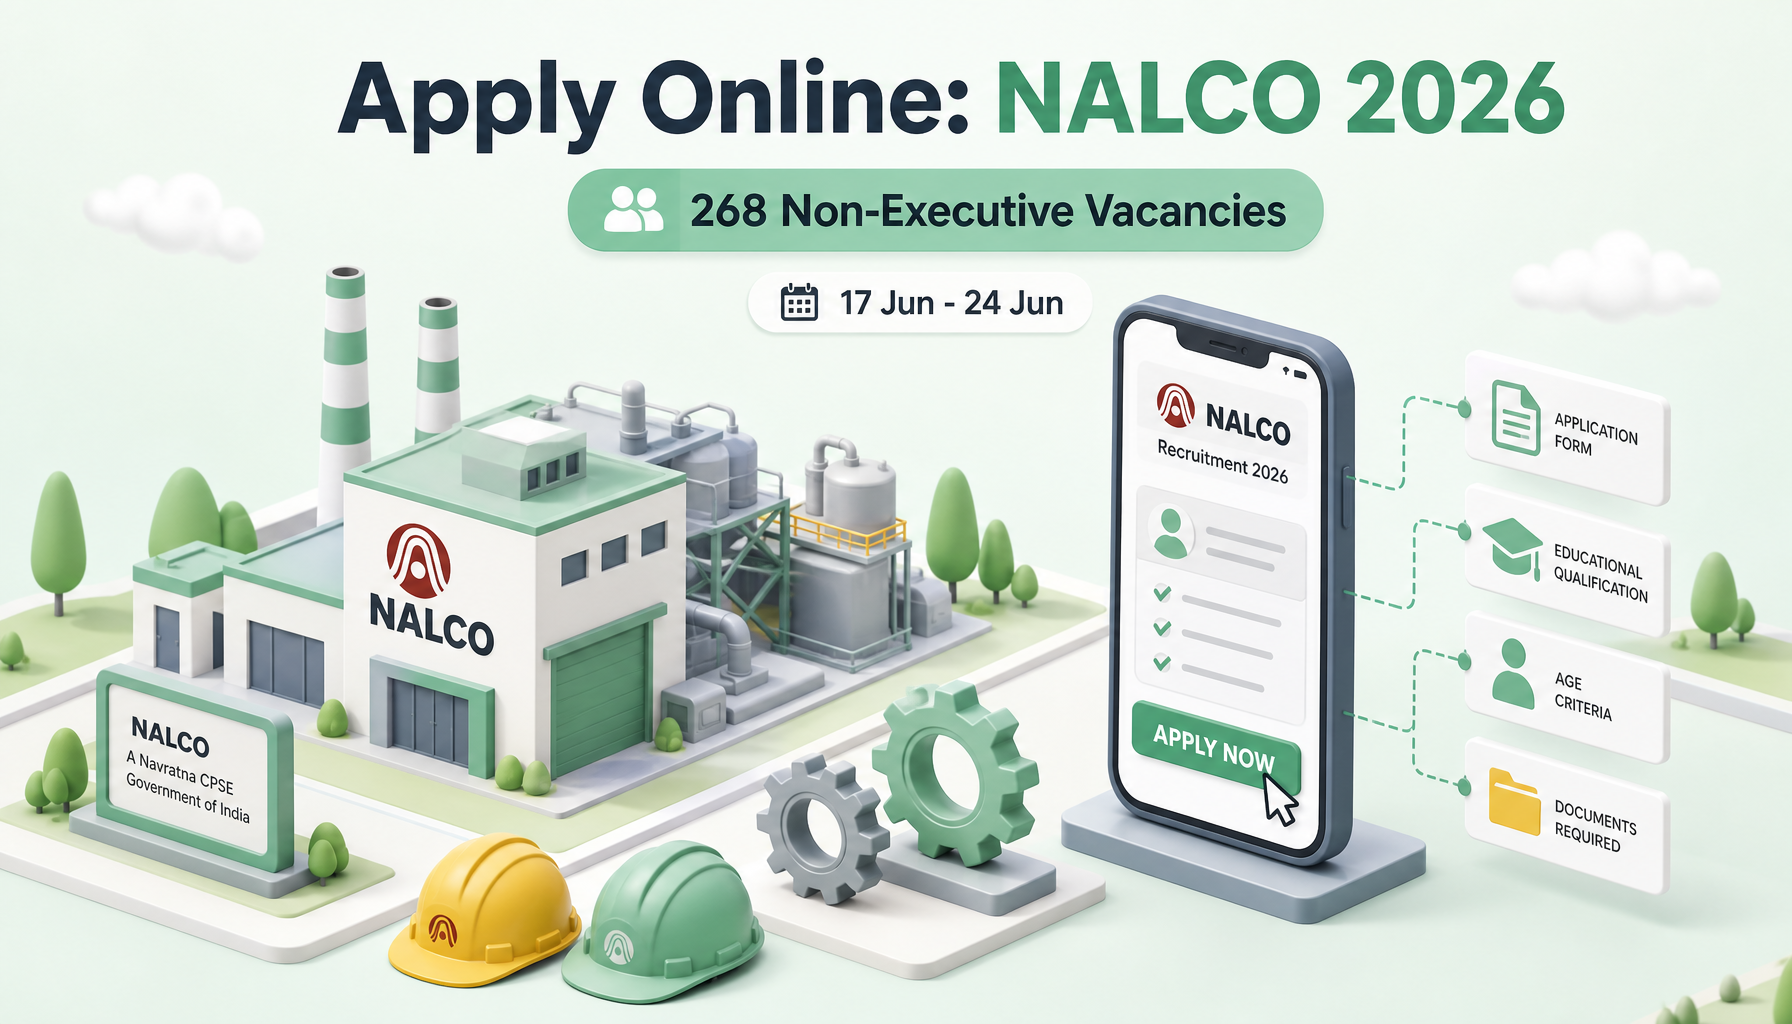
Got your eye on one of the 268 non-executive openings advertised by NALCO this year? Before you dive into the online portal, it pays to know exactly what the system will ask of you. This walkthrough takes you from the prep stage right through to printing your filled-in form, with plenty of pointers so you don’t trip over the small stuff that gets applications bounced.
What to Keep Ready Before You Begin
Half the battle is gathering your materials in advance. Trying to scan documents mid-application is a recipe for errors and timeouts. Here is your checklist:
- Identity proof — Aadhaar, voter ID, PAN, or a passport.
- Educational certificates — mark sheets and pass certificates matching the qualification asked for in your trade or post.
- Category certificate — for SC, ST, OBC, or EWS candidates, issued in the prescribed format by the competent authority.
- A working email and mobile number — both will receive OTPs and status updates, so use ones you check regularly.
Photo and Signature Specifications
This is where many first-timers slip up. The portal is fussy about image dimensions and file types. Aim for the following:
- Photograph: a recent passport-style colour photo on a light background, roughly 200×230 pixels, saved as JPG/JPEG, sized between 20 KB and 50 KB.
- Signature: sign in black or blue ink on white paper, scan it, and keep the file around 140×60 pixels, JPG format, between 10 KB and 20 KB.
Snap or scan these before you sit down to apply — having them named clearly on your desktop saves precious minutes.
Creating Your Registration
The application flows through a few logical stages. Follow them in order:
- Open the official NALCO careers page and locate the live notification for the 2026 non-executive recruitment.
- Click the registration link and enter your full name, date of birth, email, and mobile number exactly as they appear on your records.
- Verify your contact details using the OTP sent to your phone and inbox.
- Note down the registration number generated for you — you’ll need it to log back in if you take a break.
- Set a strong password and store it somewhere safe.
Completing the Application Form
Once registered, log in and start filling the main form. Work through each tab carefully:
- Enter personal particulars, ensuring the spelling matches your certificates.
- Fill in your communication and permanent addresses with correct PIN codes.
- Add your academic and technical qualifications, including year of passing and percentage or grade.
- Select the post or trade you are applying for from the dropdown — double-check this, as it cannot always be changed later.
- Declare your category and any applicable reservations honestly.
Save your progress as you go. A single typo in your name or date of birth can cause problems during document verification, so review everything before moving on.
Uploading Your Documents
With the form complete, head to the upload section:
- Upload your photograph first, confirming the preview looks clear and correctly oriented.
- Upload your signature image next.
- Attach scanned copies of any supporting documents the portal requests, such as certificates or ID proof.
If an upload fails, it’s almost always because the file is too large or in the wrong format. Resize or re-save and try again rather than refreshing repeatedly.
Paying the Application Fee
After uploads, the system moves you to payment. Fees vary by category:
- General, OBC, and EWS candidates: the standard application fee applies.
- SC, ST, and PwBD candidates: typically exempted or charged a reduced amount.
Always confirm the exact figures against the official notification, as charges can differ by post.
Accepted payment modes: net banking, debit card, credit card, and UPI. Once payment succeeds, you’ll see a confirmation and a transaction reference — wait for this screen rather than closing the window early.
Final Submission and Printout
The last step is the most satisfying. Review the complete preview of your application one final time. Check the photo, signature, post selected, and personal details. When you’re certain everything is right, hit final submit. Remember, edits are usually locked after this point.
Download the confirmation page and save a PDF copy. Print at least one hard copy and keep it with your fee receipt. You may need to carry these to later stages of the selection process.
Key Dates at a Glance
| Event | Date |
|---|---|
| Online application opens | 17 June 2026 |
| Last date to apply | 24 June 2026 |
Apply directly here: https://nalcoindia.com/career/
Tips to Keep Your Application from Being Rejected
- Mind the photo size: an oversized or blurry image is the number one cause of rejection. Stick to the KB limits and use a plain background.
- Get the signature right: sign on white paper in dark ink, and never upload a typed name in place of a real signature.
- Match your details: ensure your name, date of birth, and category exactly match your certificates — mismatches raise red flags during verification.
- Don’t leave it to the last day: servers get crowded near deadlines. Apply a day or two early to dodge crashes.
- Confirm payment: an incomplete fee transaction means an incomplete application, even if the form is full.
- Keep your printout: losing your confirmation page can complicate later stages.
Treat the process methodically, tick off each section, and you’ll have a clean, accepted submission well before the 24 June cut-off.

About the Author
mani_kandan
A dedicated content writer specializing in government job notifications and results. With two years of experience covering SSC, UPSC, Banking, Railways, and State PSC examinations, he delivers reliable, well-researched updates tailored for serious government job aspirants.